6 Best Image Converters for Mac in 2026

Need a JPG for an upload form, or a PNG that keeps its transparent background? I’ve rounded up six ways to convert images on a Mac, from Preview to apps that handle whole folders.
1. How to Convert
Mac · $29 once
This is my app. It handles almost any file, so you can use it for photos as well as video, audio and documents. Drop in your files and choose the output; it finds and runs the conversion tools for you.
1. Add your files. Drag your images into How to Convert.
2. Choose the output and convert. Pick the format you need, such as JPG or PNG, and click Convert.
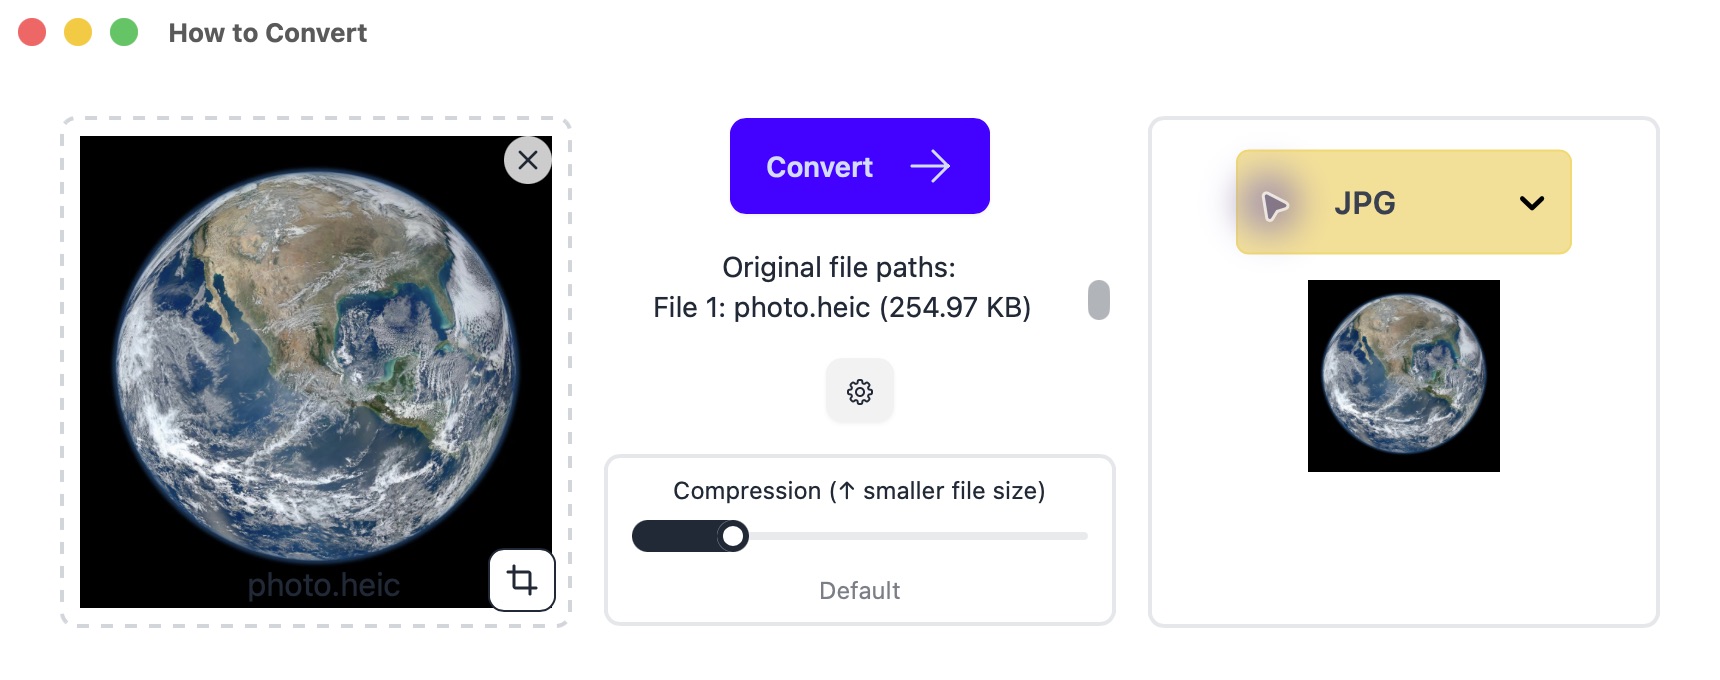
HEIC to JPG shown here. The same format menu handles other image conversions. Example photo: NASA.
Other options
2. XnConvert
Mac, Windows, Linux · Free for private/educational use; business license available
Choose this for repeat batches that also need resizing or renaming. Company use requires a licence.
- Open XnConvert’s Input tab and add your files or folder.
- Leave Actions empty for a format change only. If you need smaller dimensions, add Resize and keep the aspect ratio to avoid stretching.
- Select JPEG for ordinary photos or PNG for transparency. Save to a new folder, then click Convert. Check a few results before processing the rest.
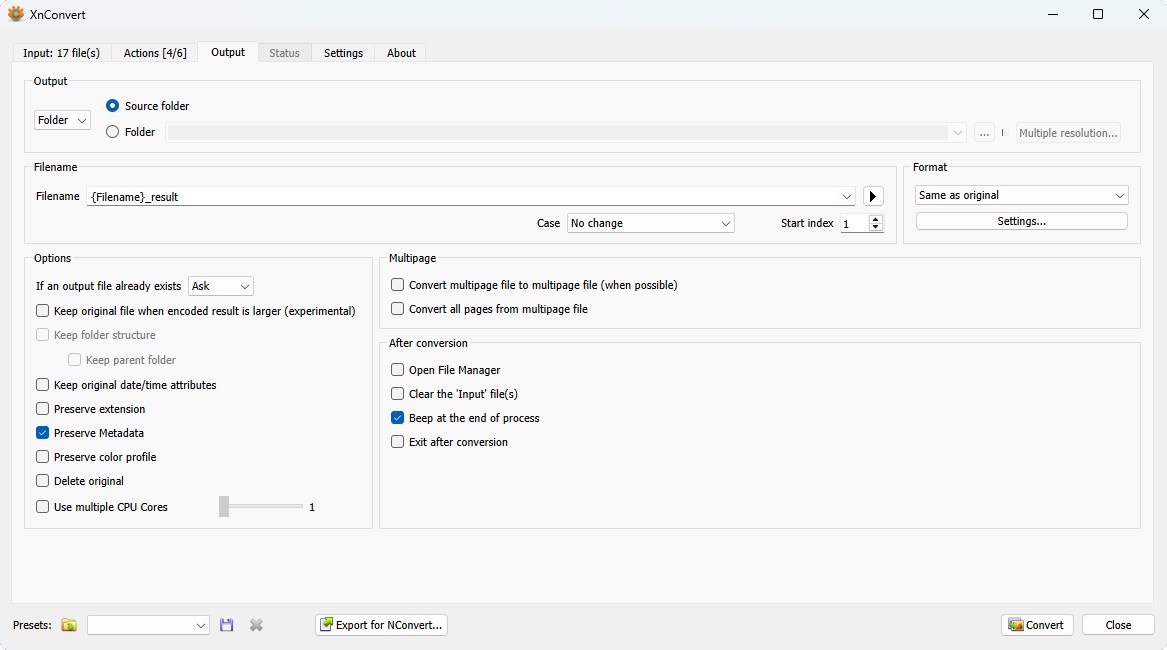
JPG cannot keep a transparent background. Use PNG for a logo that needs to stay transparent.
3. Preview
Mac · Included with macOS
Already on your Mac and quick for a single picture.
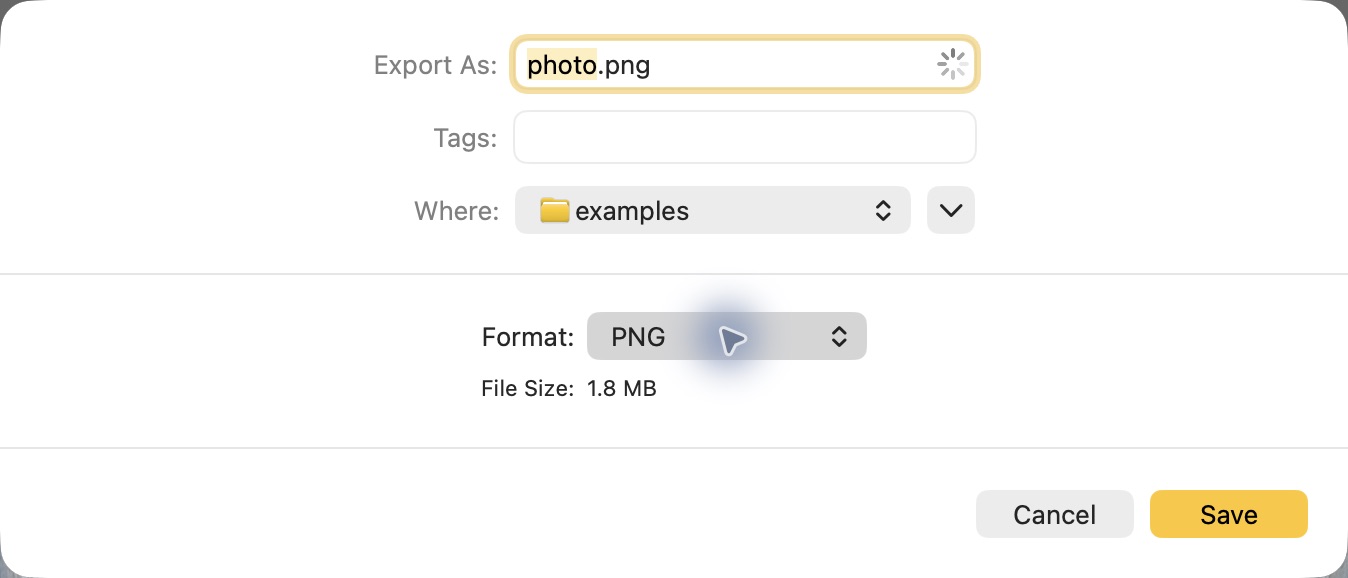
- Open the image in Preview and choose File → Export.
- Choose JPEG, PNG or another format, pick a location and click Save.
4. iMazing Converter
Mac, Windows · Free
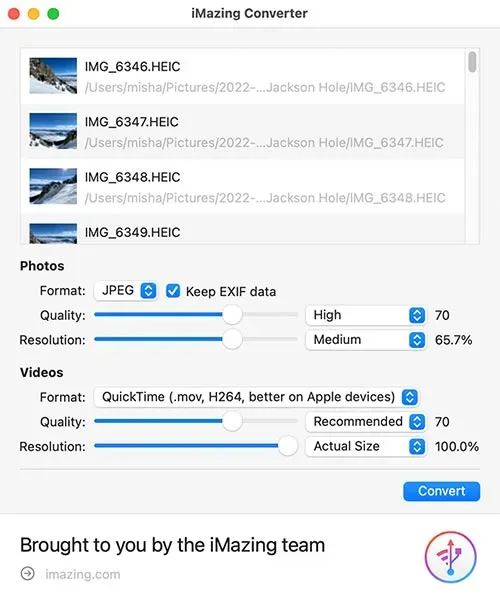
Free and focused on iPhone HEIC photos.
- Drop your HEIC photos into iMazing Converter and choose JPEG or PNG.
- Set the quality for JPEG, click Convert and choose a destination folder.
5. GraphicConverter
Mac · Paid; trial available
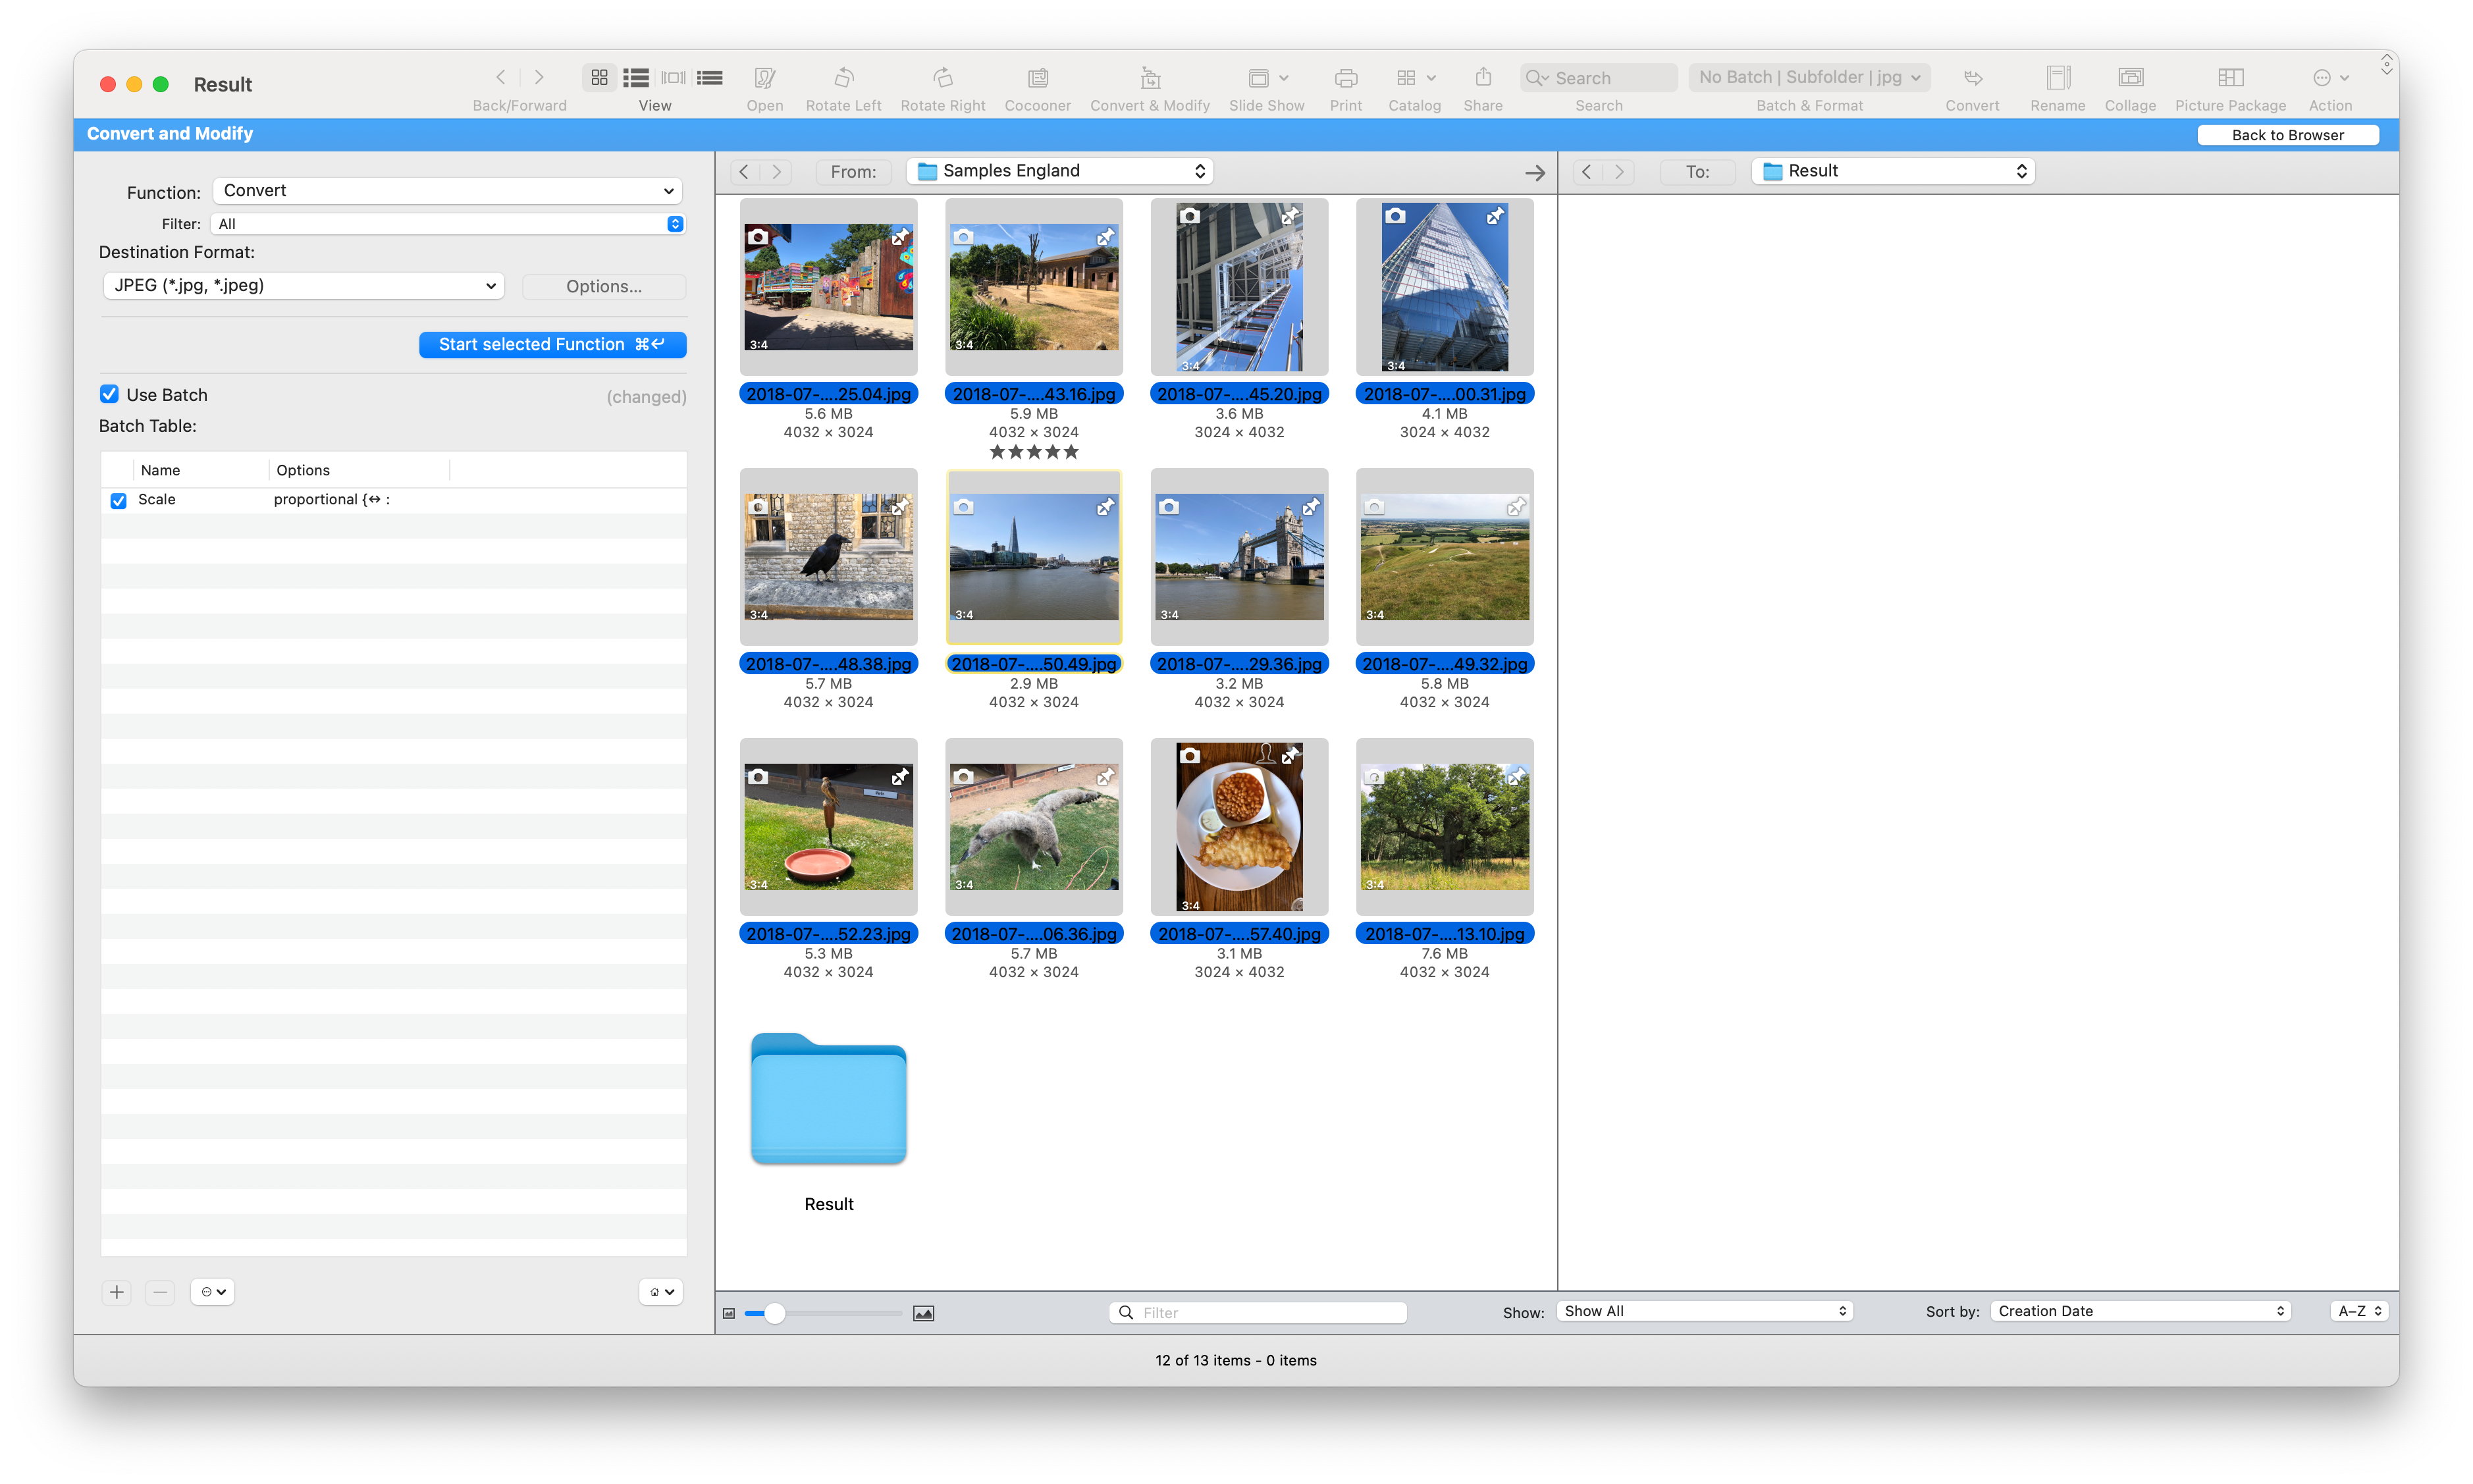
A Mac option for older image formats and batch jobs.
- Open File → Convert & Modify and select the source images.
- Set the destination and output format, then start the conversion.
6. Retrobatch
Mac · Paid; trial available
Useful when you repeat the same image job regularly.
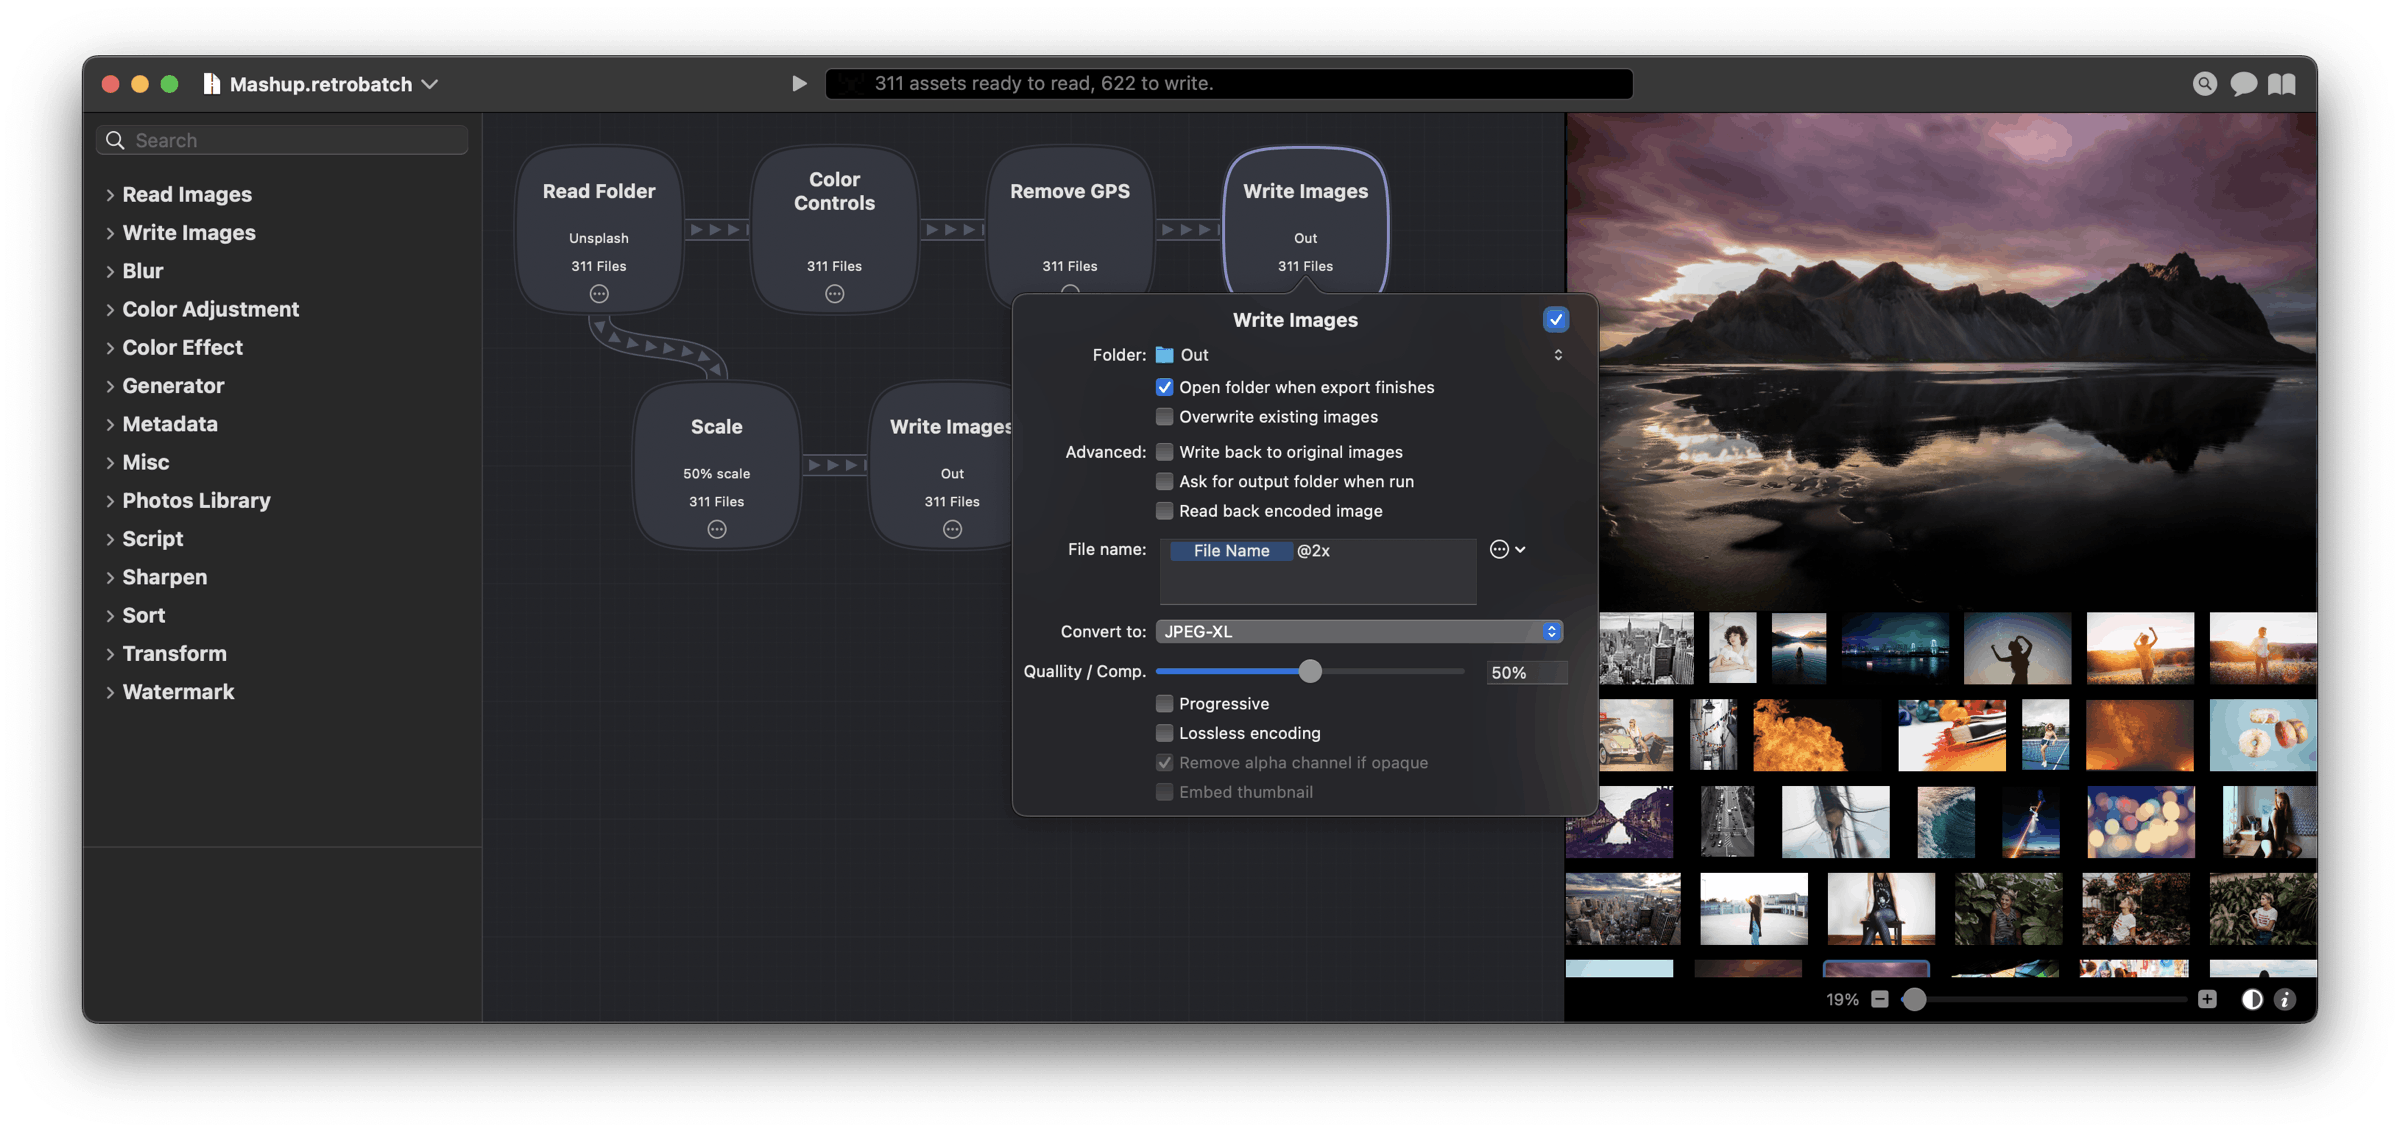
- Add Read Folder and Write Images blocks, then connect them.
- Choose the source folder, output format and destination in those blocks. Click Run and save the workflow to reuse it.